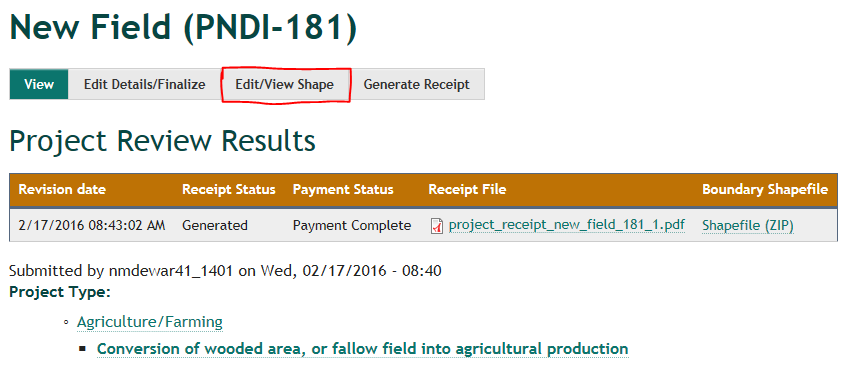
Step 1. From the Project Page, select 'Edit/View Shape'.
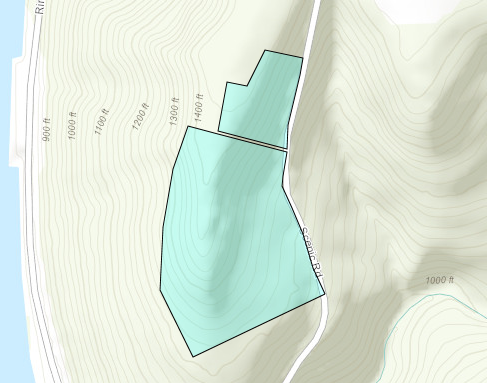
The Map will open zoomed into the project area.
Step 2. Click on the 'Edit Project' button to begin editing the project footprint.
The Draw/Edit Tool bar appears.

Step 3. Use the drawing and editing functions to modify the footprint of the project.
Once you are finished editing, click the 'Accept' button
Step 4. Click on the 'Submit for Pre-Analysis' button to run the analysis.
You may be required to answer questions depending on the results of the analysis.
Step 5. Click on the 'Submit' button to generate a new version of the receipt.
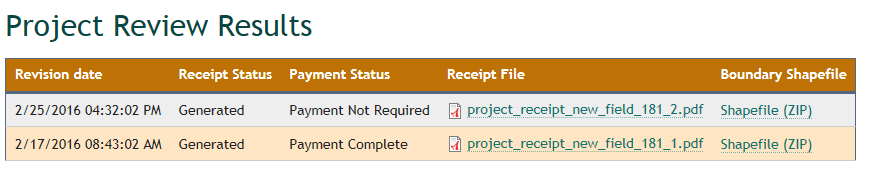
You will receive an email notification when the receipt is generated. The new receipt will appear at the top of the Projects Review Results table. Note the “_2” at the end of the new receipts file name, indicating this is the second version of the draft receipt.